
Blog
How to Iron a Shirt ( কিভাবে একটি শার্ট ইস্ত্রি করতে হয়)
How to Iron a Shirt Step-by-Step – Perfect Finish Every Time
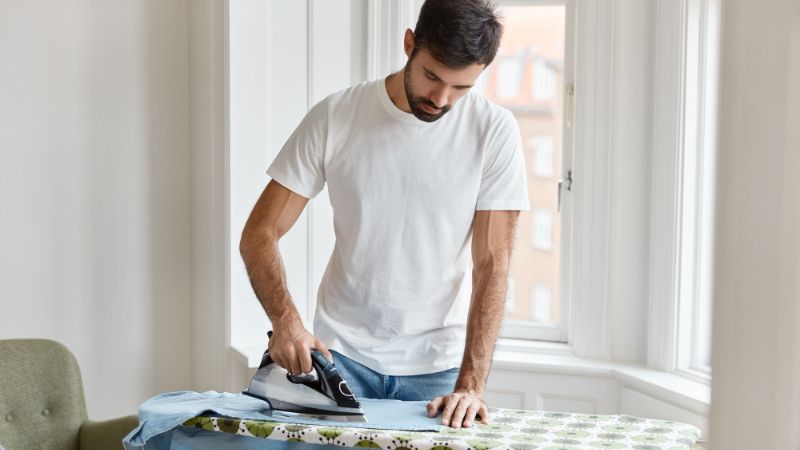
At Goodfit, we understand that ironing a shirt properly is essential for maintaining a sharp and confident look. Whether it’s for a job interview, an important meeting, or a casual day out, a wrinkle-free shirt makes a strong first impression. Learn how to iron a shirt effectively with our expert tips.
শার্ট ইস্ত্রি করা শুনতে সহজ হলেও অনেকেই ঠিকমতো জানেন না কীভাবে ইস্ত্রি করলে শার্টটা একদম পারফেক্ট দেখাবে। অফিস, ইন্টারভিউ, কিংবা ডেইলি লাইফে স্মার্ট লুক বজায় রাখতে একটি সুন্দর ইস্ত্রি করা শার্ট অত্যন্ত গুরুত্বপূর্ণ।
এই ব্লগে আমরা আপনাকে দেখাবো কীভাবে ধাপে ধাপে আপনি ঘরেই পেশাদার মানের ইস্ত্রি করা শিখে নিতে পারেন।
Step 1: Set Up Your Ironing Station – ইস্ত্রির জন্য জায়গা তৈরি করুন
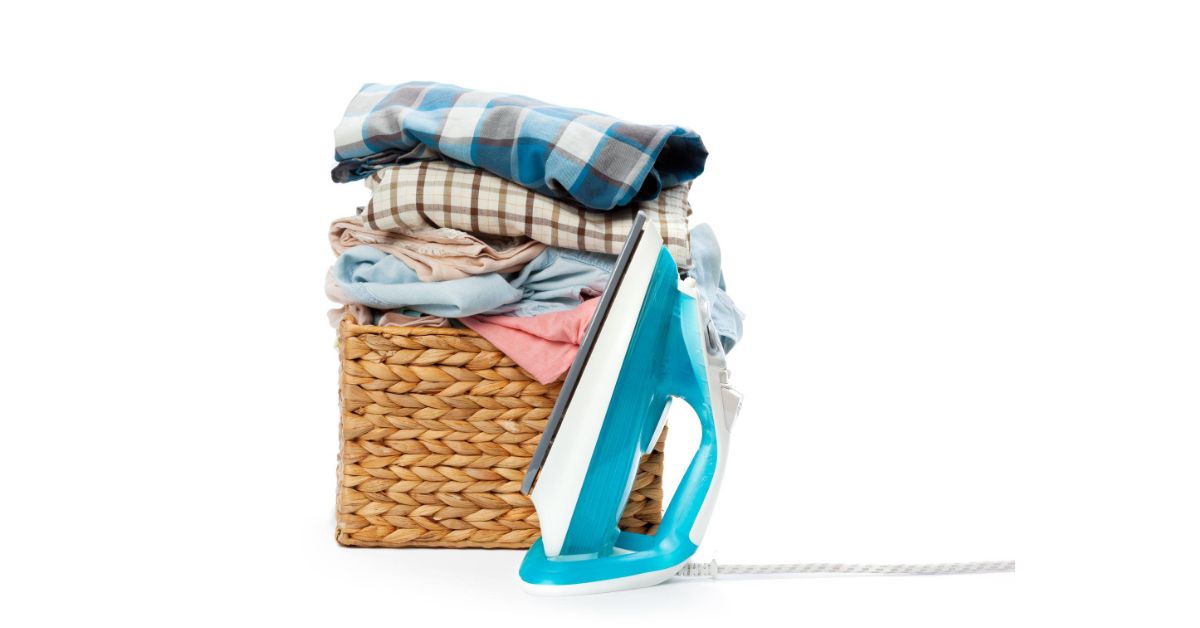
A smooth ironing process starts with proper preparation. You’ll need:
- A clean, functional steam iron
- A flat and stable ironing board
- A spray bottle filled with water (if your iron doesn’t have a steam function)
- A well-lit area
বাংলায়:
ইস্ত্রি ভালোভাবে করতে প্রথমেই কিছু জিনিস গুছিয়ে নিতে হবে:
- পরিষ্কার ও ঠিকঠাক কাজ করা ইস্ত্রি
- সমান ও মজবুত ironing board
- পানিভর্তি স্প্রে বোতল (যদি ইস্ত্রিতে স্টিম না থাকে)
- ভালো আলোযুক্ত স্থান
Step 2: Read the Fabric Care Label – ফ্যাব্রিকের লেবেল ভালো করে পড়ুন
Before applying any heat, always check the label on your shirt. It tells you the recommended temperature and ironing method for the fabric type.
Common settings:
- Cotton: High heat with steam
- Linen: High heat with steam
- Polyester: Low heat
- Silk: Very low heat or use a pressing cloth
- Blends: Medium heat
বাংলায়:
ইস্ত্রি করার আগে অবশ্যই শার্টের ভেতরে থাকা fabric care label দেখে নিন। এতে নির্দিষ্ট ফ্যাব্রিকের জন্য উপযুক্ত তাপমাত্রা ও ইস্ত্রির নিয়ম উল্লেখ থাকে।
সাধারণ নির্দেশনা:
- Cotton: বেশি তাপ এবং স্টিম
- Linen: বেশি তাপ এবং স্টিম
- Polyester: কম তাপ
- Silk: একদম কম তাপ বা press cloth ব্যবহার করুন
- Blended fabrics: মাঝারি তাপ
Step 3: Make the Shirt Slightly Damp – শার্ট হালকা ভেজা রাখুন
A slightly damp shirt is easier to iron and gives a smoother finish. You can:
- Iron it straight after washing (but semi-dry)
- Or use the spray bottle to lightly mist the fabric
বাংলায়:
শার্ট হালকা ভেজা থাকলে ইস্ত্রি সহজ হয় এবং ক্রিজ কম পড়ে। আপনি চাইলে:
- ধোয়ার পর আধা শুকনা অবস্থায় ইস্ত্রি করতে পারেন
- অথবা স্প্রে বোতল দিয়ে সামান্য পানি ছিটিয়ে নিতে পারেন
Step 4: Iron the Collar First – আগে কলার ইস্ত্রি করুন
Start with the collar since it frames your face and should look neat.
- Lay the collar flat
- Iron from the outer edges inward
- Flip and repeat on the other side
বাংলায়:
কলার অংশ দিয়ে শুরু করুন কারণ এটি সবচেয়ে দৃশ্যমান অংশ।
- কলার সোজা করে বিছিয়ে নিন
- দুই পাশ থেকে মাঝখানের দিকে ইস্ত্রি করুন
- উল্টে দিয়ে অন্য দিকেও একইভাবে ইস্ত্রি করুন
Step 5: Iron the Yoke and Shoulders – পিছনের ওপরের অংশ ও কাঁধ ইস্ত্রি করুন
This area includes the part that sits across the back of your shoulders.
- Drape the yoke over the narrow end of the board
- Iron from the center outwards toward the sleeves
বাংলায়:
এই অংশটি হচ্ছে পিঠের ওপরের দিক ও কাঁধ।
- শার্টের উপরের অংশ (yoke) বোর্ডে ভালোভাবে সেট করুন
- মাঝখান থেকে দুই পাশে কাঁধের দিকে ইস্ত্রি করুন
Step 6: Iron the Sleeves and Cuffs – হাতা ও কফ ইস্ত্রি করুন
Sleeves can be tricky. To get a crisp look:
- Lay one sleeve flat, align the seams
- Start at the shoulder, iron down to the cuff
- Unbutton the cuff and iron both inside and outside
বাংলায়:
হাতা সুন্দরভাবে ইস্ত্রি করা একটু সময়সাপেক্ষ, তবে ঠিকভাবে করলে দারুণ লুক আসে।
- হাতা সমানভাবে বিছিয়ে নিন
- কাঁধ থেকে কফ পর্যন্ত ইস্ত্রি করুন
- কফের বোতাম খুলে ভেতর ও বাইরের দিক ভালোভাবে ইস্ত্রি করুন
Step 7: Iron the Body of the Shirt – শার্টের সামনের ও পেছনের অংশ ইস্ত্রি করুন
Divide the shirt into three areas:
- Back panel: Start from one side, move across the back
- Front panels: Avoid ironing directly over buttons. Use the tip of the iron between them
- Placket: Iron carefully around the buttonholes
বাংলায়:
শার্টের মূল অংশকে ৩ ভাগে ভাগ করে ইস্ত্রি করুন:
- পিছনের অংশ: একদিক থেকে শুরু করে সমানভাবে ইস্ত্রি করুন
- সামনের অংশ: বোতামের ওপর সরাসরি ইস্ত্রি না করে চারপাশে করুন
- বোতামের জায়গা (placket): বোতামের ফাঁক গুলোতে সোজাসুজি ইস্ত্রি চালিয়ে নিন
Step 8: Hang the Shirt Immediately – শার্ট হ্যাঙ্গারে ঝুলিয়ে দিন
Once you’ve ironed all areas:
- Button the top button
- Hang the shirt on a sturdy hanger
- Let it cool down before storing or wearing
বাংলায়:
ইস্ত্রি শেষ হলে:
- উপরের বোতাম লাগিয়ে দিন
- শার্টকে হ্যাঙ্গারে ঝুলিয়ে দিন
- ঠান্ডা না হওয়া পর্যন্ত গুছিয়ে রাখবেন না
Additional Tips for a Professional Finish – অতিরিক্ত কিছু গুরুত্বপূর্ণ টিপস
- Use distilled water in your iron to avoid mineral buildup
- Clean your iron plate regularly
- Use a pressing cloth for delicate fabrics like silk
- Iron in long, smooth strokes – avoid jerky movements
- Keep the iron moving to avoid scorching the fabric
বাংলায়:
- ইস্ত্রিতে ডিস্টিল্ড পানি ব্যবহার করুন, এতে স্কেল জমে না
- ইস্ত্রির নিচের প্লেট নিয়মিত পরিষ্কার করুন
- ডেলিকেট কাপড়ের জন্য press cloth ব্যবহার করুন
- লম্বা ও মসৃণভাবে ইস্ত্রি করুন, হঠাৎ টেনে না নিন
- কাপড়ের এক জায়গায় বেশি সময় ইস্ত্রি না চালিয়ে রাখুন
Final Thoughts – শেষ কথা
Ironing is not just about removing wrinkles—it’s about presenting yourself in the best possible way. Whether you’re dressing for success or simply enjoying the satisfaction of a crisp shirt, following this detailed step-by-step guide will give you the perfect finish every time.
ইস্ত্রি করা মানে শুধু ভাঁজ দূর করা নয়—এটা আপনার আত্মবিশ্বাস এবং পরিচ্ছন্নতার প্রকাশ। তাই এই ধাপগুলো অনুসরণ করলে আপনি প্রতিবারই একটি নিখুঁত, সুন্দর শার্ট পরতে পারবেন।
আরও ফ্যাশন টিপস, কাপড়ের যত্ন এবং স্টাইল গাইড পেতে GoodFit ব্লগ ফলো করতে ভুলবেন না।